Homemade Remedies - Part 3
Healing Balm
Oh my, this was so easy! I was worried it might be difficult…but it was actually so simple!
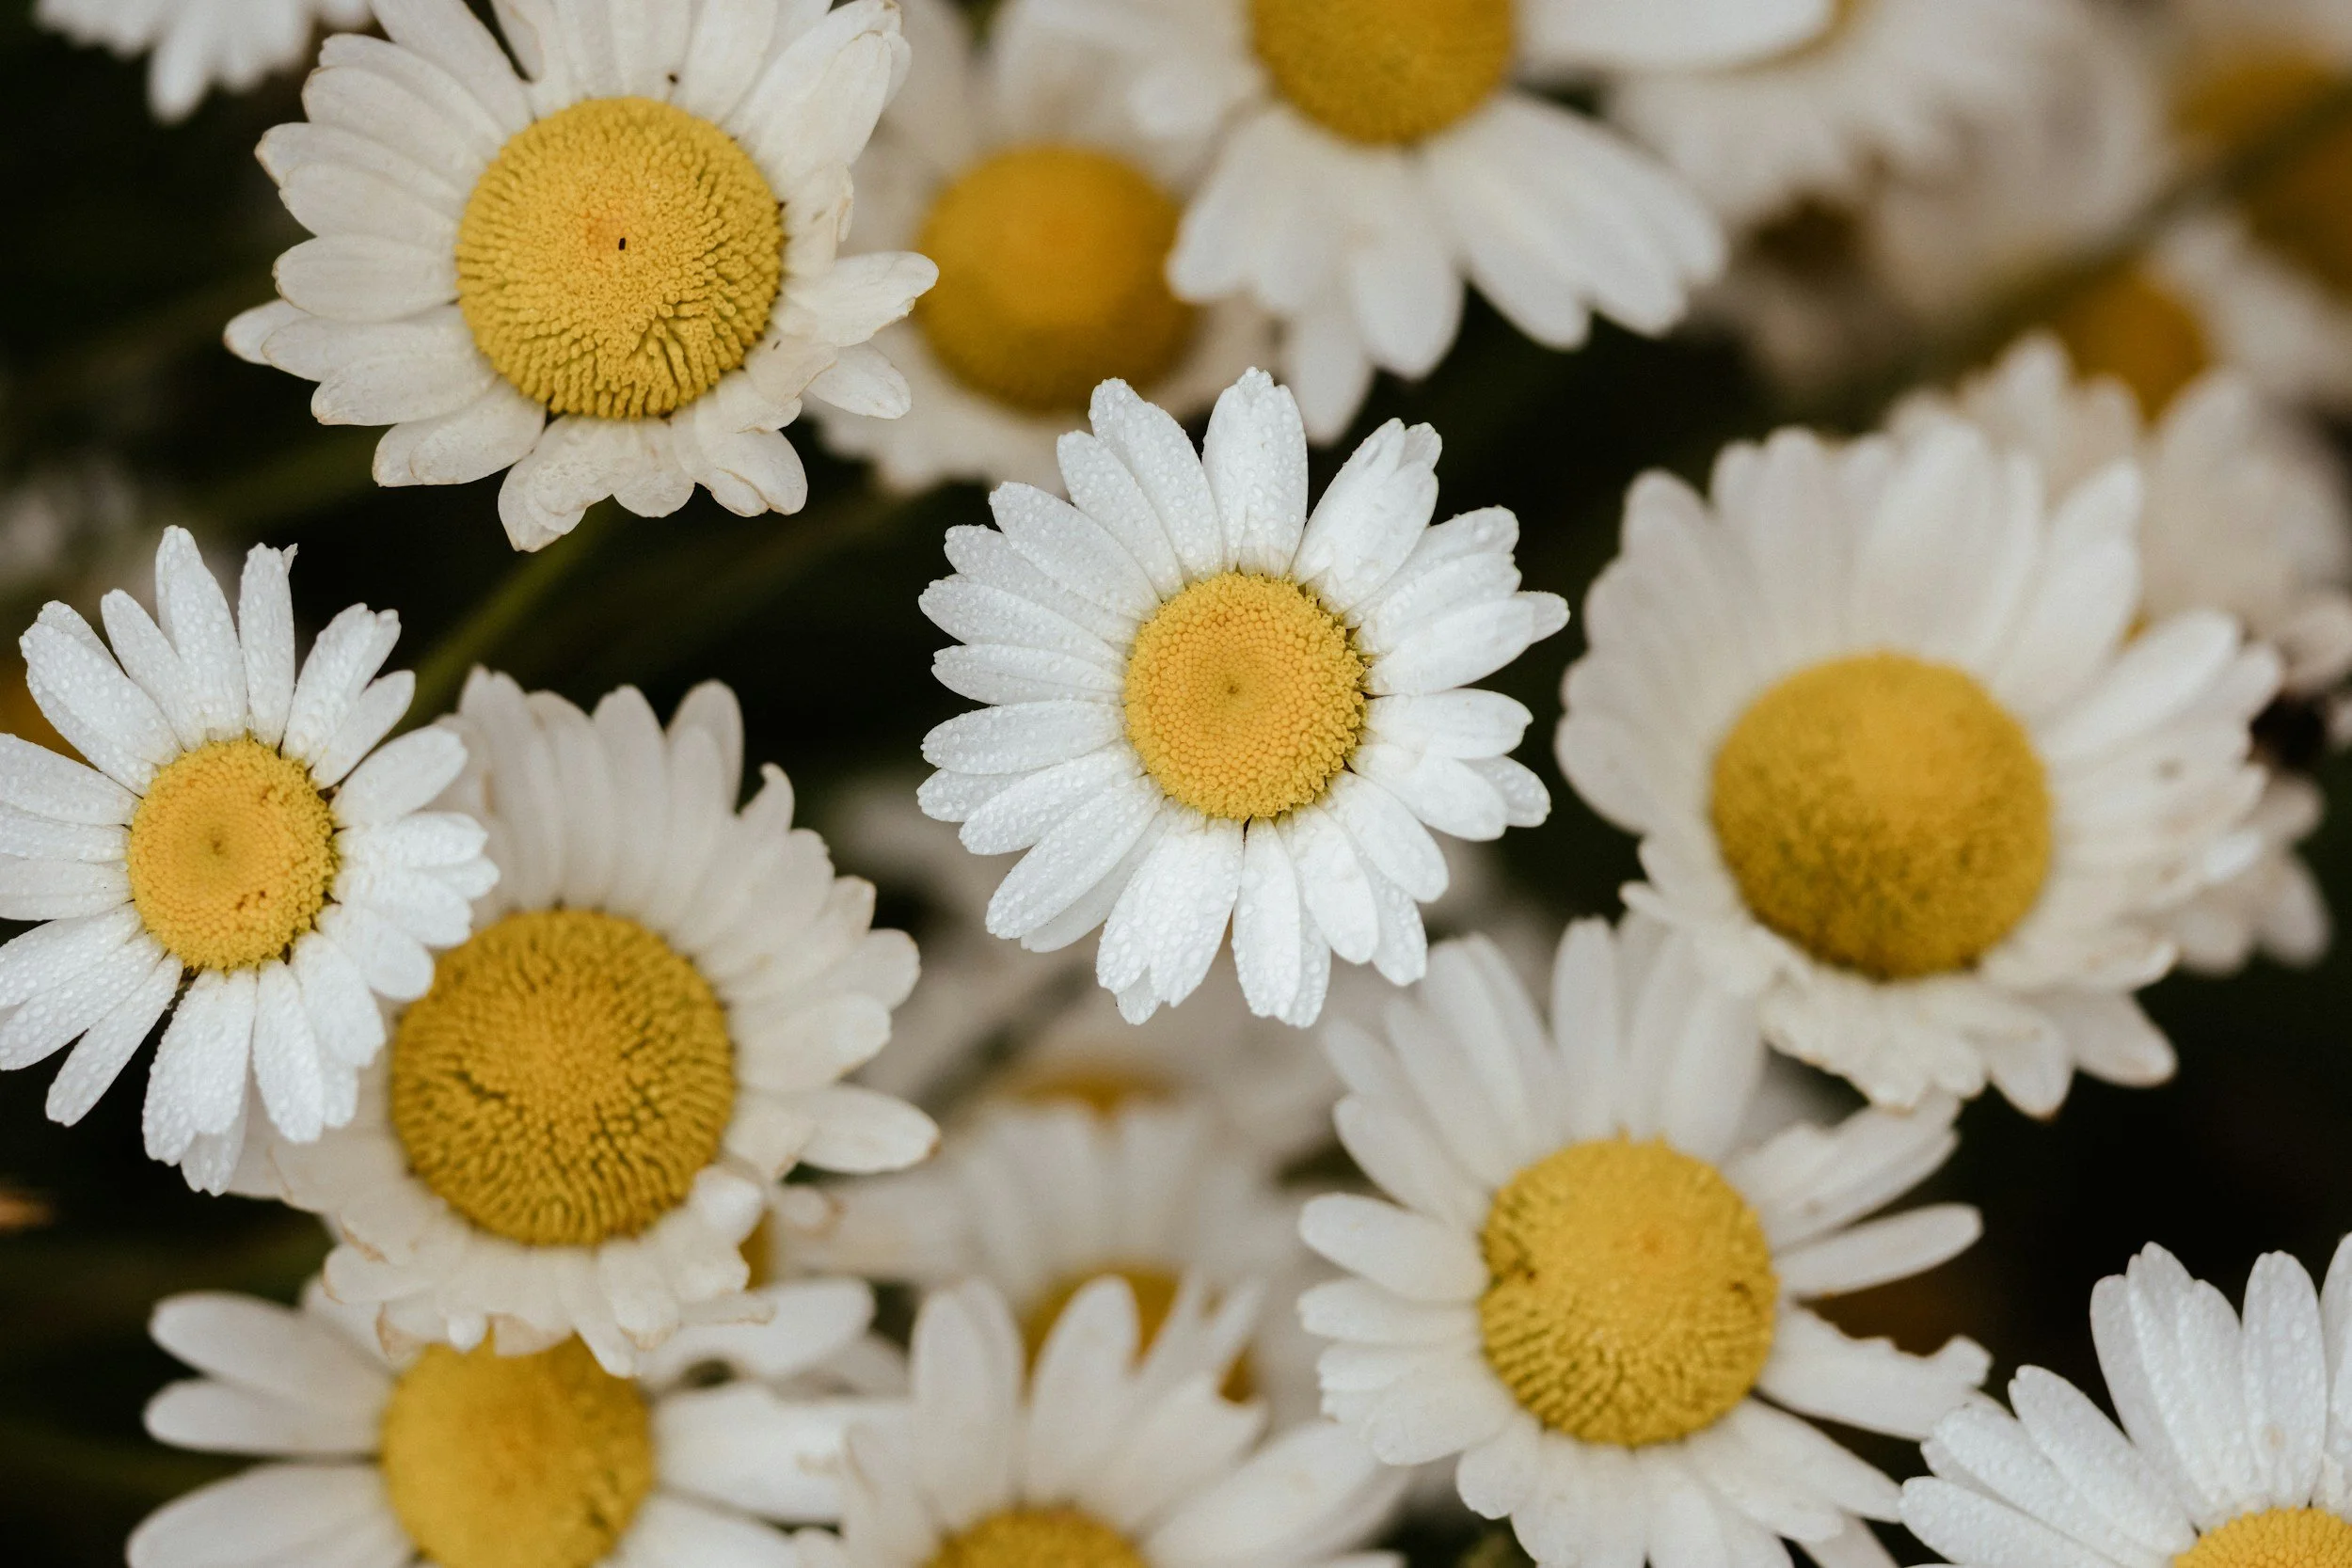
I chose chamomile for my balm because I have a lot of it growing around me…and I hate chamomile tea. It’s also an excellent choice for a healing balm, Here’s why:
Anti-Inflammatory Properties:
Chamomile contains compounds like bisabolol and chamazulene, which have anti-inflammatory effects. This makes the balm soothing for irritated or inflamed skin.
Antioxidant Benefits:
Chamomile is rich in antioxidants, which help protect the skin from free radical damage, reducing signs of aging and promoting skin health.
Moisturizing:
The combination of coconut oil, shea butter, and beeswax provides deep moisturization, creating a barrier that locks in hydration and keeps the skin soft and supple.
Healing Properties:
Chamomile is known for its wound-healing properties, making the balm effective for minor cuts, burns, and abrasions. It can speed up the healing process and reduce scarring.
Antibacterial and Antifungal:
Tea tree oil and chamomile both have antibacterial and antifungal properties, helping to prevent and treat minor skin infections.
Calming and Soothing:
Lavender and chamomile essential oils have calming effects, which can help soothe sensitive or irritated skin, reducing redness and discomfort.
How to Make A Chamomile Healing Balm
*If you’ve just watched the video, please see the “Notes from Lisa” section below.
Ingredients:
1/2 cup dried chamomile flowers (or 1/4 cup of chamomile tea)
1/4 cup coconut oil
1/4 cup cocoa or shea butter
1 tablespoon beeswax pellets (I just shaved an old beeswax candle)
1 teaspoon vitamin E oil or almond oil
3 - 5 drops peppermint essential oil (optional), lavender would also be nice
3 drops tea tree essential oil (optional)
1 teaspoon honey (optional, for added moisture)
Instructions:
Infuse the Oil:
Place the dried chamomile flowers in the slow cooker or a double boiler on the stove.
Add the coconut oil to the slow cooker, making sure the flowers are fully submerged.
Set the slow cooker to the lowest setting (usually "Warm" or "Low") and let it infuse for about 4-6 hours, stirring occasionally. Ensure the oil doesn't get too hot, as it can degrade the beneficial properties of the chamomile. If using a double boiler, let it infuse for 2 hours.
After 4-6 hours, strain the oil through a fine mesh strainer or cheesecloth to remove the chamomile flowers. Squeeze out as much oil as possible from the flowers.
Prepare the Balm:
In a double boiler, combine the infused chamomile coconut oil, shea/cocoa butter, and beeswax pellets.
Heat gently until the beeswax and shea/cocoa butter are completely melted, stirring occasionally.
Once melted, remove from heat and stir in the almond oil, jojoba oil, and honey. Mix well to combine.
Add the vitamin E oil, lavender essential oil, and tea tree essential oil if using. Stir well to combine.
Pour and Set:
Pour the mixture into your 120ml clean, dry container (such as a small glass jar or tin).
Allow the balm to cool and solidify completely, which may take a few hours.
Once solidified, cover with a lid and store in a cool, dry place.
Notes From Lisa
The “Warm” setting was the right setting for my slow cooker, “Low” was too warm and it boiled
Be sure to mix the essential oils in well, they’re tricky
I put the finished balm in the fridge for 30 mins and then gave it a really good stir to make sure the essential oils didn’t separate. This worked really well :)
It’s a little soft, more beeswax would make it thicker :)
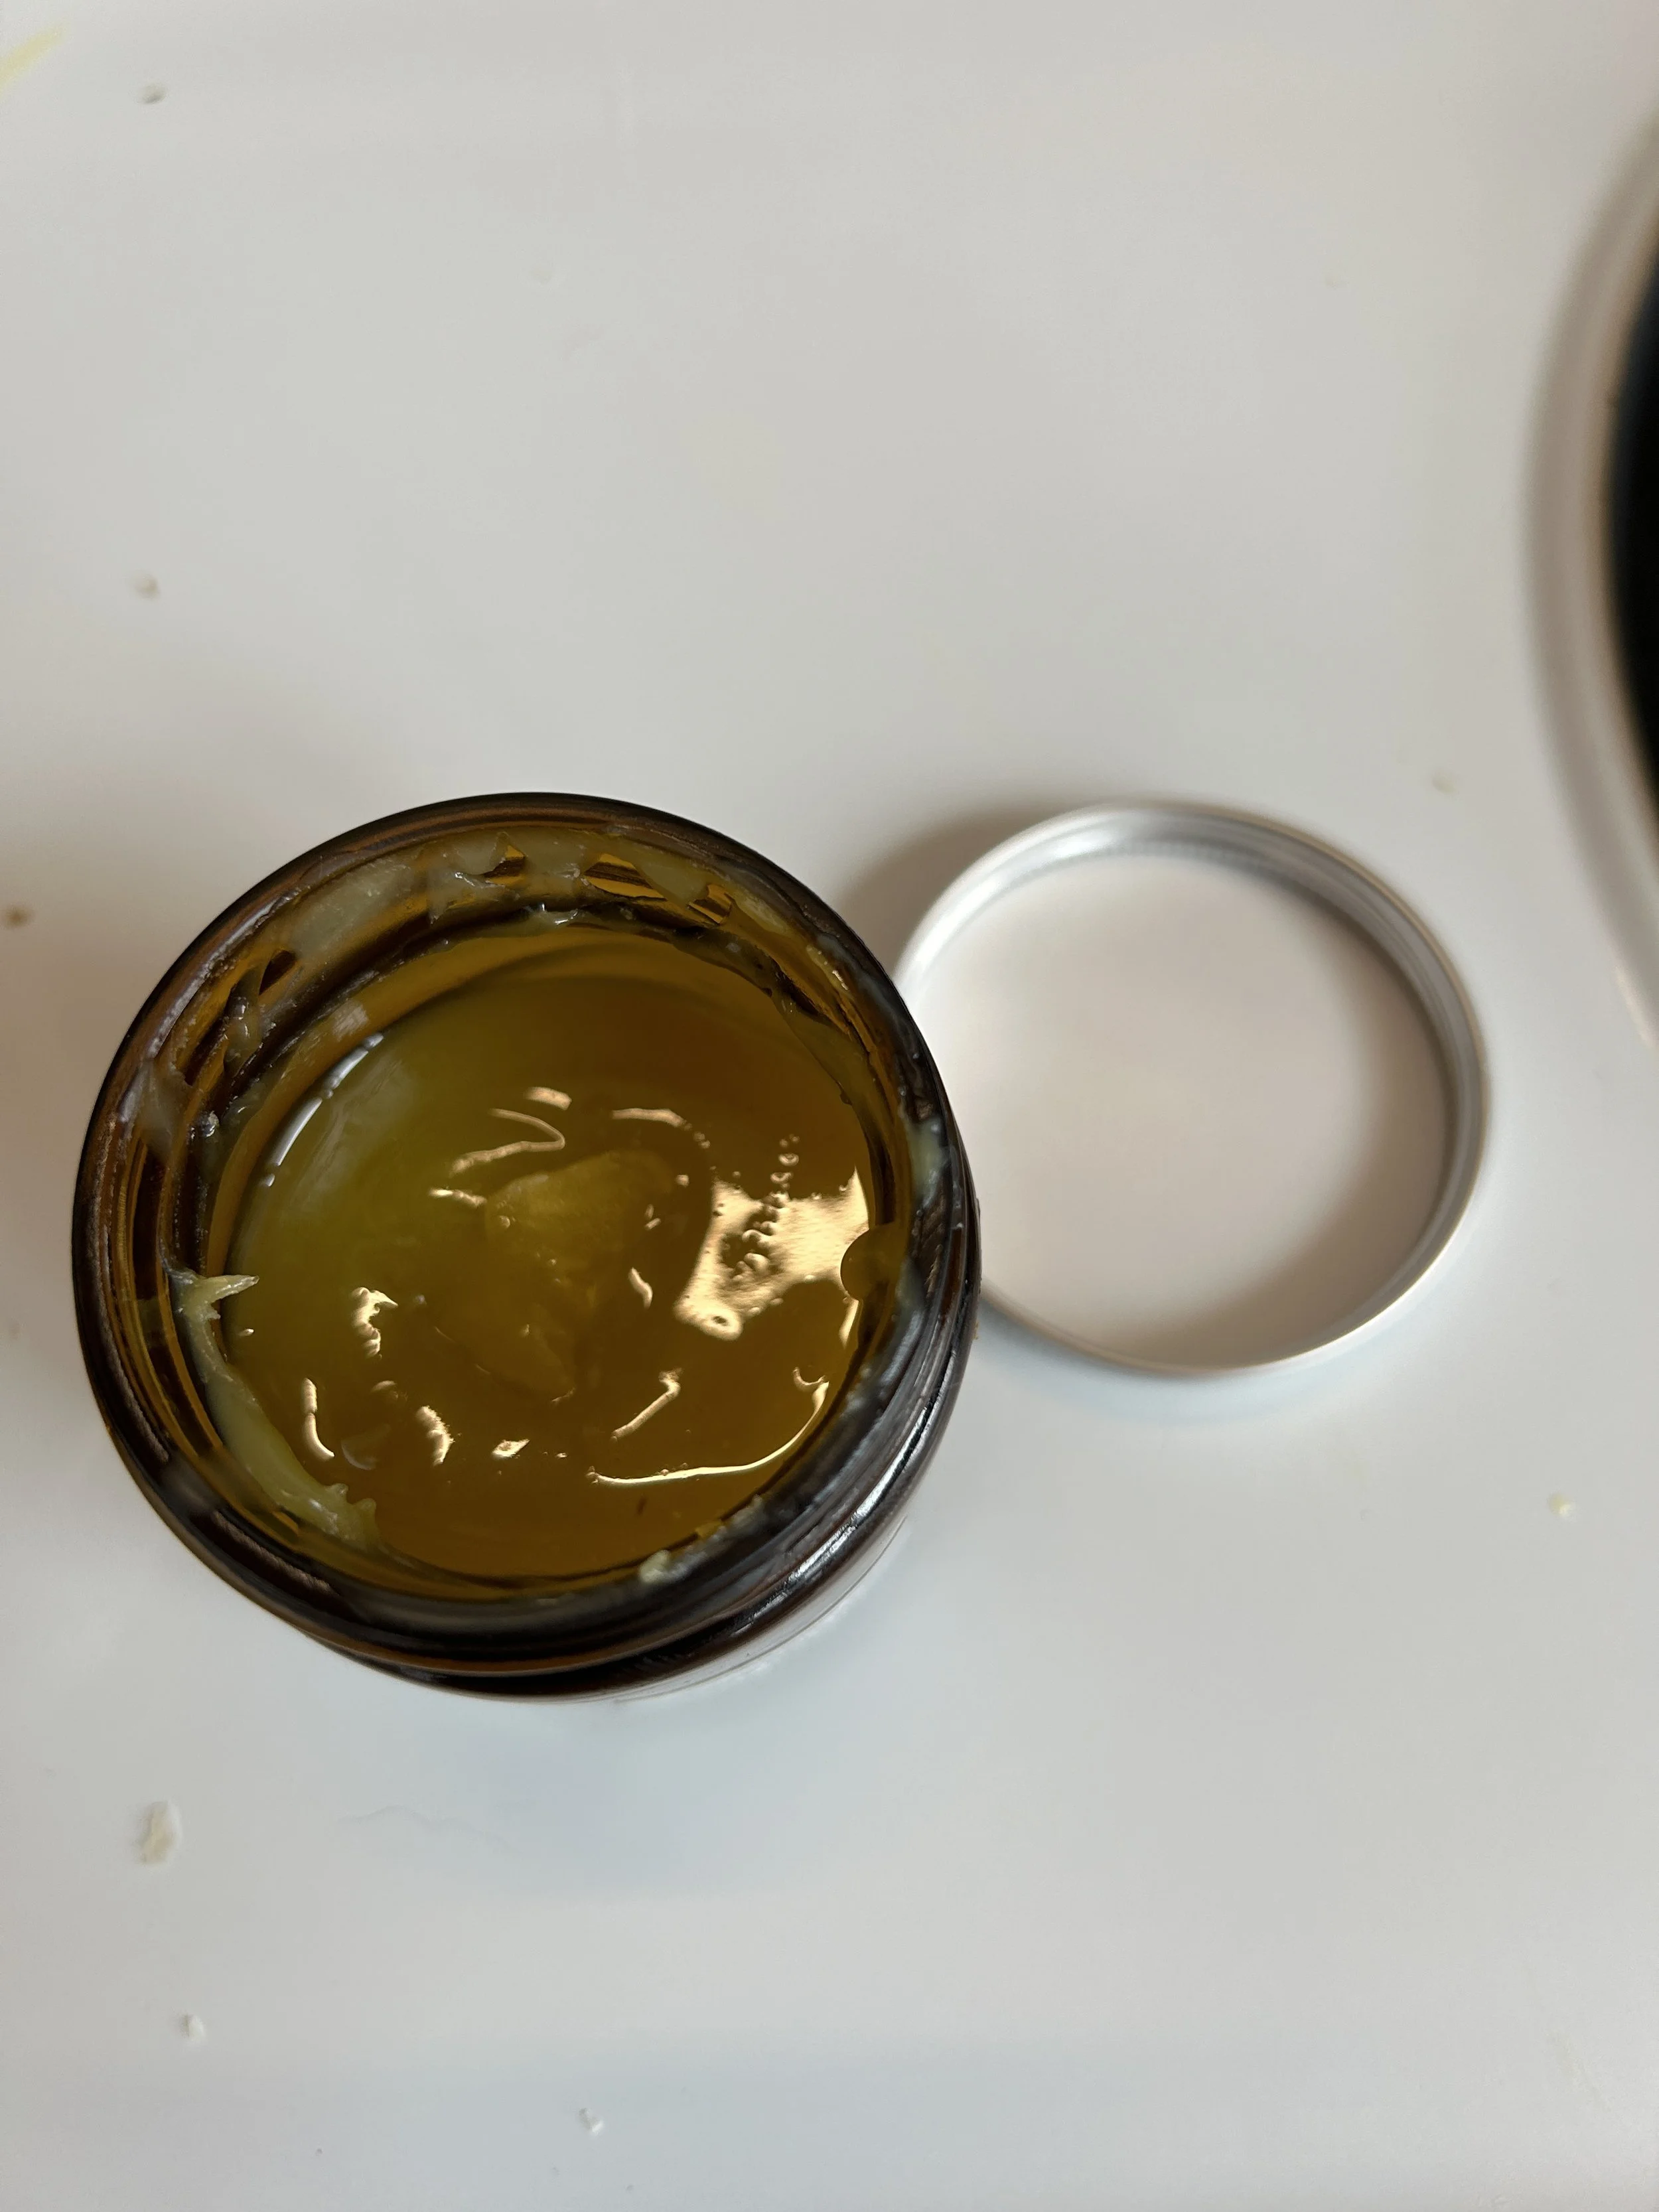
Here’s what it looks like finished!
Got any questions or comments? Comment below, jump to our private Facebook Group, or the Ask Lisa page :).


